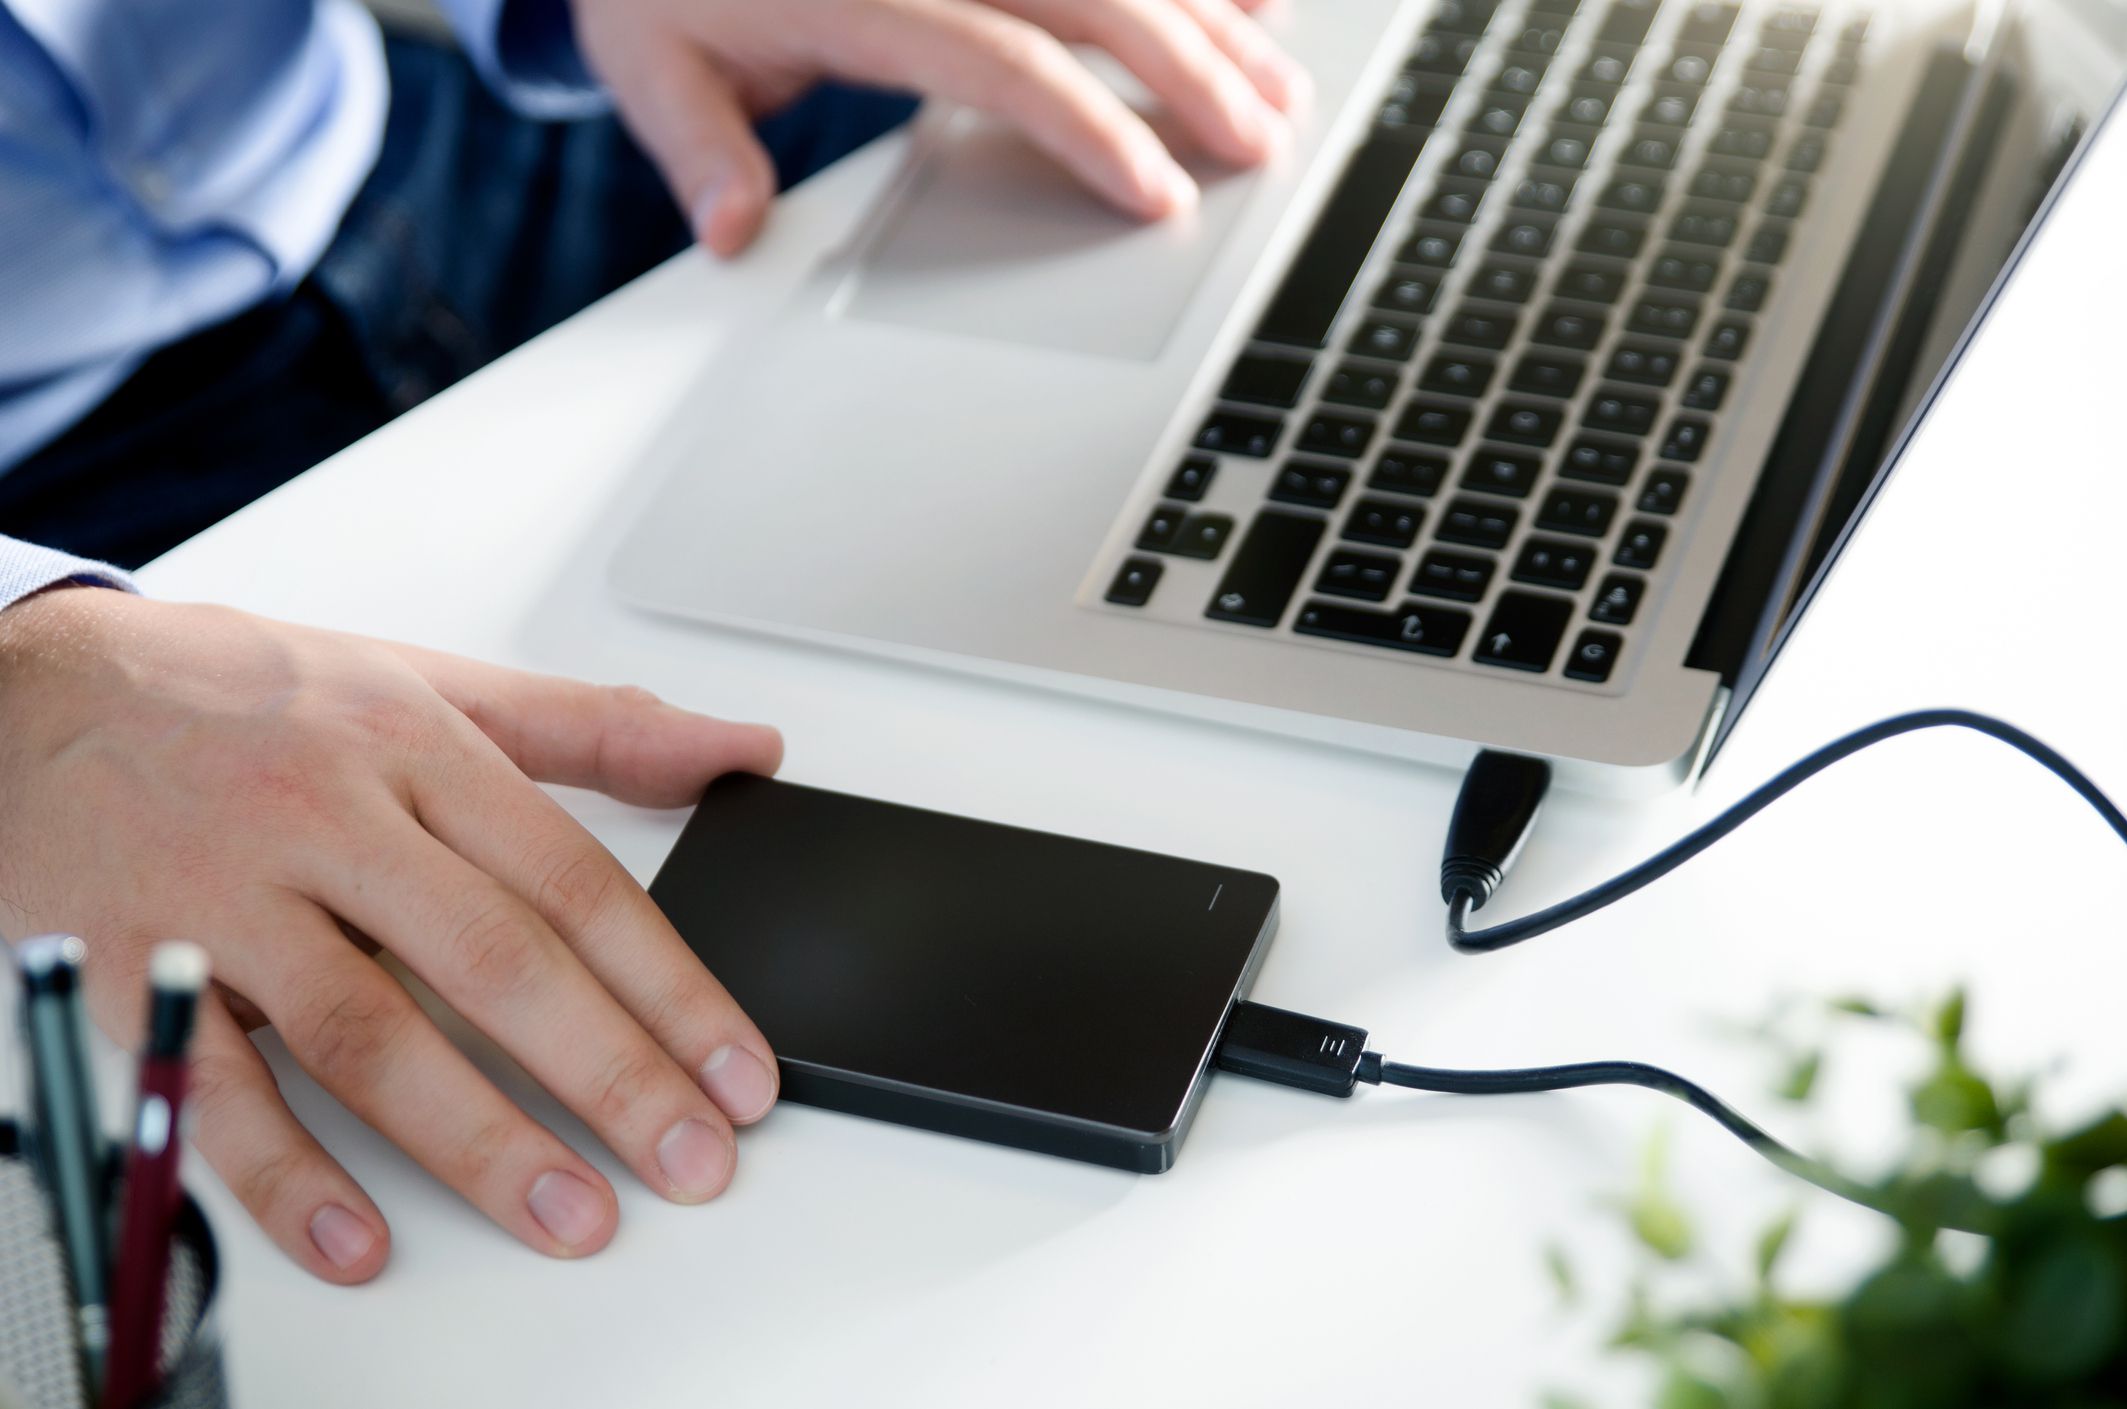
Are you still backing up your iPhone to your Mac and finding that space is getting pretty limited now? With iPhone storage space growing in size with every new iteration, it can be tough for your Mac’s internal storage to keep up with things. Especially if you have a MacBook, MacBook Pro, or MacBook Air, and only have a relatively small amount of space.
Fortunately, there is a way to back up your iPhone to an external hard drive, but Apple hasn’t made it easy to do. In fact, Apple even recommends you don’t do this (but it can be useful). Here’s everything you need to know about how to backup iPhone to an external hard drive, and how to move your backups safely to a larger hard drive.
This guide works with iOS 13 and MacOS Catalina, although it should work similarly for older operating systems. We recommend always keeping your iPhone and Mac up to date.
Contents
Why Backing up to an External Hard Drive is a Good Idea
Moving your iPhone backup over to an external hard drive isn’t simple. It involves being comfortable changing a few background settings on your Mac via the Terminal command. If you’ve never dealt with Terminal before, it can be intimidating as it’s powerful and not exactly user-friendly.
It is possible to ‘break’ things using Terminal. We recommend backing up your Mac via Time Machine before you get involved with Terminal.
Despite the difficulty level, it’s very useful to be able to move your iPhone backup across as oftentimes, it can take up many gigabytes of data on your hard drive. You can always backup to iCloud but often, it’s useful to know you have a physical backup stored somewhere safe, especially if you have hundreds or thousands of important photos stored on your iPhone.
Because of the complexity, we’ve broken down what needs to be done before moving your iPhone backup to an external hard drive into multiple steps. Here’s what to do.
How to Find Your Current Backup on MacOS
To move an iPhone backup to an external hard drive, you need to know where it’s stored on your Mac. Luckily, it’s not hard to find.
Click Finder on your Mac’s Dock.
Click on your iPhone listed under Locations.
If you’re using an older version of macOS than macOS Catalina, you need to use iTunes to find your iPhone instead
Click Manage Backups.
Hold down the Control key and click the backup name you want.
Click Show in Finder.
You’ve successfully tracked down the backup.
How to Move iPhone Backup to an External Hard Drive
Now you’ve found your backup, you need to move it to your external hard drive. This step is pretty simple.
Make sure your external hard drive is plugged in!
Go to the Finder window that displays your iOS backup.
Click on the Backup folder.
It will either be called Backup or have a series of numbers to it.
Drag it to the external hard drive listed under Locations.
You may have to enter your administrator password to do this.
Rename the iOS backup folder on the external hard drive to ios_backup.
Switch back to the original finder window and rename the old backup to old_backup.
How to Permanently Change Where Your Mac Saves Your iPhone Backups
Changing the Mac’s location for iPhone backups is the trickiest part of this process. To always have your iPhone back up to an external hard drive, you need to create what’s known as a symlink so that your Mac knows where to look for future backups.
This step isn’t essential as you can manually move your backups across, but it’s much easier if you set up your Mac to do this automatically. Plus, it means you don’t have to worry about having enough free space on your Mac’s internal hard drive to perform the backup.
It’s not too hard to change the location if you follow these steps, but it does require some concentration. You also need to change some permissions on your Mac first to get to the end result. Here’s how to change those permissions first.
Click the Apple Icon on the top left of your screen.
Click System Preferences.
Click Security & Privacy.
Click Privacy.
Click the Lock to make changes.
Enter your admin password.
Click Full Disk Access.
Click the + (Plus Sign).
Scroll through your Applications and click Terminal when you find it.
Change iPhone Backup Locations on Mac
Now you’ve completed that step, here’s how to change iPhone backup location on Mac.
You can ‘break’ how your Mac backups your iPhone, so we recommend performing a full system backup via Time Machine first so you can retrace your steps if need be.
Open Terminal.
Paste this code, ensuring you change the relevant parts to the name of your external hard drive.
ln -s /Volumes/**yourexternalharddrivename**/ios_backup ~/Library/Application Support/MobileSync/Backup/
Tap Return.
Close Terminal.
You’ve now made a symlink between the new folder and the old folder that contains your backup.
How Do I Know the New iPhone Backup Has Worked?
When dealing with backups, you want to be certain that you’ve done it all correctly. Here’s how to double check.
From the iPhone Location within Finder, click Back Up Now.
Once the backup has completed, open the new ios_backup folder on your external hard drive and check that the Date Modified next to it has changed to the current time.
How to Make Your Change of Backup Location Even Neater
The downside to having a backup on your external hard drive is if you don’t always have the external hard drive plugged in, you can have issues. Here’s how to disable automatic backups so you only back up your iPhone when you want to do it.
Click Finder.
Click on your iPhone listed under Locations.
Untick the Automatically sync when this iPhone is connected box.
Don’t forget to manually back up regularly!

